Hairpins, as a pinnacle of traditional Chinese adornment, are not only tools for securing hair but also artistic objects imbued with millennia of cultural meaning. From the "Ji" in the Book of Songs to the ornate "Buyao" of the Tang Dynasty and the refined "Zanzi" of the Ming and Qing Dynasties, each hairpin conveys the aesthetic language of its era. This guide will take you from basic wearing methods to advanced techniques, providing a comprehensive approach to traditional Chinese hairpins.
📿 Cultural Significance: In Chinese tradition, hairpins symbolize not only beauty but also social status, age, and marital status. At fifteen, girls reached maturity in a ceremony known as “Ji,” while married women's hairpin styles differed significantly from those of unmarried girls.
1. Hairpin Basics: Know Your Tools
1. Main Types of Hairpins
Basic Single Hairpin
Structure: Single stick, one decorated end
Length: Usually 10-20 cm
Suitable Hairstyles: Simple bun, half-up styles
Difficulty: Beginner-friendly
U-Shaped Hairpin (Double Stick)
Structure: U-shaped, decorated ends
Feature: More secure hold
Suitable Hairstyles: Complex buns, thick hair
Technique: Requires cross-fixing method
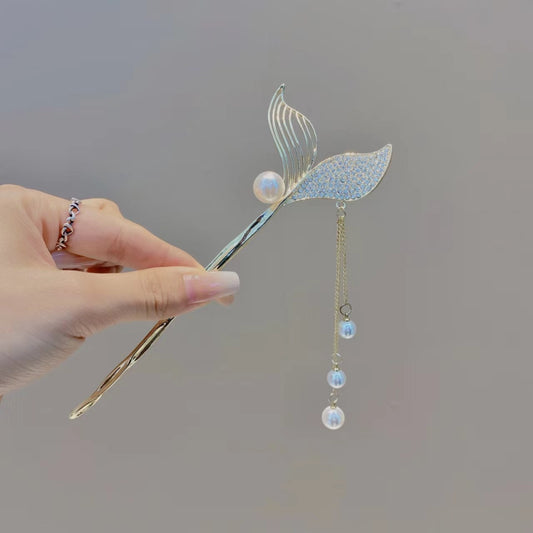
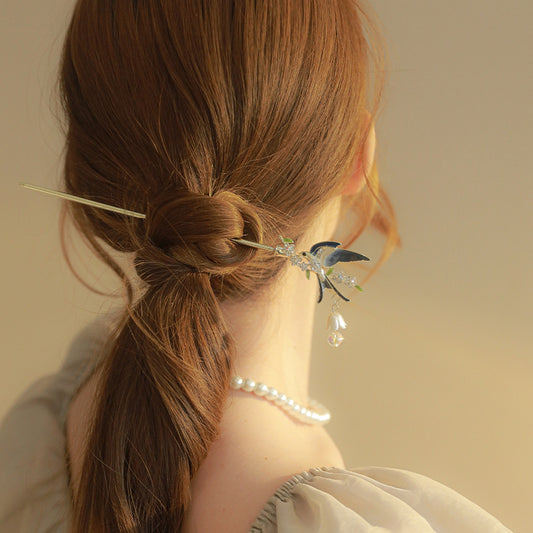
Buyao Hairpin
Feature: Dangling beads, sways when walking
History: Popular among Tang Dynasty noblewomen
Wearing Tip: Maintain elegant posture
Occasion: Formal ceremonies, traditional weddings
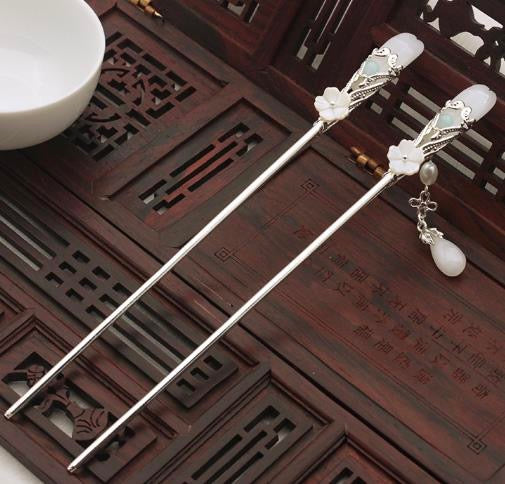
Difference Between Zan and Chai
Zan: Single stick, inserted straight
Chai: Double or multiple sticks, crossed to secure
Practical Difference: Chai is more stable for active movement
Cultural Difference: Chai often used in pairs
2. Materials and Weight Considerations
- Wood: Lightweight, daily use, requires moderate hair volume
- Silver: Medium weight, flexible, easiest to use
- Jade: Heavier, needs a solid bun for support
- Gold: Heaviest, usually short and delicate
- Copper: Cost-effective, may cause allergies
2. Basic Wearing: Five Steps to Master
| Step | Key Actions | Common Mistakes |
|---|---|---|
| Step 1: Prepare Hairstyle | Comb hair smooth, tie low ponytail or bun with proper tension | Bun too tight or too loose; tangled hair |
| Step 2: Choose Insertion Point | Prepare at 45° angle from the right or left side of bun | Vertical insertion slips; horizontal insertion looks awkward |
| Step 3: Insertion Technique | Align tip with insertion point, gently rotate and push through hair | Forceful insertion may hurt scalp; wrong angle prevents hold |
| Step 4: Fixing | Hairpin should pass through center of bun, tip slightly exposed on other side | Only goes through surface; too shallow causes slipping |
| Step 5: Adjust and Secure | Gently shake to check stability; use small hidden clips if needed | Skip checking; excessive adjustment loosens hairpin |
⚠️ Safety Tip: Always separate scalp with fingers when inserting hairpin to avoid poking. Long hair should be fully tied before inserting; do not use hairpins to comb tangled hair.

3. Hairpin Techniques for Different Hair Types
Short Hair (Shoulder Length or Above)
Suitable Hairpins: Small, delicate single pins
Recommended Hairstyles: Half-up, side buns
Technique: Secure small sections; decorative focus
Note: Avoid heavy pins
Medium Hair (Back Length)
Suitable Hairpins: Medium single pins or U-shaped pins
Recommended Hairstyles: Low bun, loose updo
Technique: Try “figure-8” bun before inserting pin
Advantage: Ideal length for styling
Long Hair (Waist Length)
Suitable Hairpins: Long pins, U-shaped pins, multiple pin combinations
Recommended Hairstyles: Classic buns, complex updos
Technique: Braid first for friction, then twist bun
Challenge: Needs strong support
Thin, Fine Hair
Suitable Hairpins: Pins with combs, U-shaped pins
Technique: Use padding or hair donuts to increase volume
Accessory: Dry hair spray to add grip
Hairstyle Suggestion: Loose buns rather than tight buns
Thick, Coarse Hair
Suitable Hairpins: Thick, sturdy pins
Technique: Tease hair to add volume
Note: May require multiple pins
Advantage: Can support heavy pins

4. Classic Hairstyles and Hairpin Pairings
1. Basic Bun Method (Most Common)
- Tie Low Ponytail: At nape height
- Twist into Bun: Clockwise twist into circular shape
- Secure Ends: Use clips to fix tail at bun base
- Insert Hairpin: Diagonally from top right, exit bottom left
- Adjust: Slightly loosen for relaxed look
2. Classic Double Ring Bun
- Divide hair into two equal parts
- Braid each side into 3 strands, twist into rings
- Insert U-pin from right ring through middle section to fix left ring
- Repeat on left side with another pin
- Add Buyao pin between two pins for elegance
3. Modern Half-Up Pin Style
- Take upper half of hair, tie high ponytail
- Twist ponytail into small bun
- Insert short pin diagonally
- Leave lower half loose
- Suitable for daily or office wear

5. Essential Tools and Accessories
🧰 Essential Kit
Basic Tools:
- Cushion Brush: Smooth hair, avoid tangles
- Hair Tie: Temporarily secure hair
- U-Clips: Black and brown, invisible hold
- Small Clips: Both flat and spiral clips
- Hair Wax or Pomade: Control flyaways, add shine
Advanced Tools:
- Hair Padding/Donut: Adds volume
- Hair Net: Wrap bun neatly
- Dry Hair Spray: Increase friction
- Hairpin Stand: For precious pins
- Storage Box: Prevent scratches